


Part 2: How to Build a NextJS App using Typescript and TailwindCSS: The Complete Guide
Fetching and displaying data from API in NextJS using getStaticProps, TailwindCSS @apply directive and Typescript Interface.


Hello Everyone 👋
I'm Abhinav Rajesh and this is a series on "Getting started with NextJS using Typescript and TailwindCSS". This is 2nd Part of the series where we would be learning how to fetch data from an API, TailwindCSS and Typescript Interfaces. in case you missed the 1st part, checking it out first would be a good idea as I discuss how to set up the project in that article.
In this article, we would be going through a bunch of stuff like
- Routing
- Index Routes
- Nested Routes Dynamic Route segments
- Different methods to fetch data
- getStaticProps
- getStaticPath
- getServerSideProps
- Module CSS
- TailwindCSS
- Classes
- @apply directives
- Typescript
- interfaces
Routing ⛕
Next.js has a file-system based router built on the concept of pages. When a file is added to the pages directory it's automatically available as a route. The files inside the pages directory can be used to define the most common patterns.
Index routes
The router will automatically route files named index to the root of the directory.
pages/index.tsx → /
pages/about.tsx → /about
Nested routes
The router supports nested files. If you create a nested folder structure files will be automatically routed in the same way still.
pages/blog/first-post.js → /blog/first-post
pages/dashboard/settings/username.js → /dashboard/settings/username
Dynamic route segments
To match a dynamic segment you can use the bracket syntax. This allows you to match named parameters.
pages/article/[slug].js → /article/:slug (/article/hello-world)
pages/article/[...all].js → /article/* (/article/2020/id/title)
Now as the routing has been explained, now let's start building 🛠️
First, create a components folder in the root directory and your file structure should look something like this
┣ components/
┣ pages/
┣ public/
┣ styles/
In the components folder create a Navbar.tsx file, and inside that put the following code
// components/Navbar.tsx
import Link from "next/link";

const Navbar = () => {
  return (
    <nav className="flex px-16 py-8">
      <h2 className="flex-1 font-bold text-2xl">Dev Posts</h2>
      <ul className="flex-1 flex justify-around">
        <li className="px-4 py-2">
          <Link href="/">
            <a>Home</a>
          </Link>
        </li>
        <li className="px-4 py-2">
          <Link href="/about">
            <a>About</a>
          </Link>
        </li>
      </ul>
    </nav>
  );
};

export default Navbar;
The above code creates a simple navbar. You can see that there are class names which we have used. The style for these classes come directly from TailwindCSS. For Eg. In the above code,
flex -> display: flex;
px-* -> padding in horizontal by a particular amount in rem units
font-bold -> font-weight: bold;
text-2xl -> font-size: 1.5rem;
There are many more different types of utility classes, you can check them out in the Official TailwindCSS documentation.
The other important thing we used is the Link component exported by next/link. It is used for Client-side transitions between routes.
Now, inside the pages directory inside the index.tsx file, remove everything in the return statement and replace it with the following code
// pages/index.tsx
import Navbar from "../components/Navbar";

export default function Home() {
  return <Navbar />;
}
Now, if you run the server, using the command
yarn dev
// or
npm run dev
and go to http://localhost:3000(If you have changed the port number, then go to the port you changed to) you can see the navbar we just created! 🎉

Fetching data 🎣
For data fetching, we have special functions which can be used to fetch the data and pass the data as props to the pages.
Now, there are 3 separate methods to fetch the data.
- getStaticProps (Static Generation): Fetch data at build time.
- getStaticPaths (Static Generation): Specify dynamic routes to pre-render pages based on data.
- getServerSideProps (Server-side Rendering): Fetch data on each request.
For this example, we would be using the getStaticProps function. We would be fetching data(articles) from a fake server and display the articles. For this we would be fetching the data in pages/index.tsx file and send the data to a new component in components/Article.tsx as props and display the articles by mapping over the items.
So, create a new file in components/Article.tsx and add the following code
// components/Article.tsx
import Link from "next/link";
import styles from "../styles/Article.module.css";
interface Article {
id: number;
userId: number;
body: string;
title: string;
}
const Article = ({ id, userId, body, title }: Article) => {
return (
<Link href={`/article/${id}`}>
<a className={styles.card}>
<h3>{title} →</h3>
<p>{body.length > 50 ? `${body.slice(0, 45)}...` : body}</p>
</a>
</Link>
);
};
export default Article;
One of TypeScript’s core principles is that type checking focuses on the shape that values have. This is sometimes called “duck typing” or “structural subtyping”. In TypeScript, interfaces fill the role of naming these types, and are a powerful way of defining contracts within your code as well as contracts with code outside of your project.
Here you may also notice that we used objects for class names instead of string. That's because by default Next.js supports CSS Modules. CSS Modules locally scope CSS by automatically creating a unique class name. This allows you to use the same CSS class name in different files without worrying about collisions.
Adding the tailwindCSS classes inline may make the tsx files less readable, so instead of that, we can write the tailwind classes in a separate css file using the @apply keyword. So create a new file Article.module.css in the styles folder in the root directory and add the following code
/* styles/Article.module.css */
.grid {
  @apply flex items-center justify-center flex-wrap max-w-3xl mt-12;
}

.card {
  @apply m-4 p-6 text-left md:w-11/12 no-underline border border-gray-100 rounded-lg transition-all duration-150 ease-in-out;
}

.card:hover,
.card:focus,
.card:active {
  @apply text-blue-400 border-blue-400;
}

.card h3 {
  @apply mb-4 text-2xl font-semibold;
}

.card p {
  @apply m-0 text-2xl;
}

@media (max-width: 600px) {
  .grid {
    @apply w-full flex-col;
  }
}
Now inside the pages/index.tsx file add the following code
// pages/index.tsx
import { InferGetStaticPropsType } from "next";

import Navbar from "../components/navbar";
import Article from "../components/Article";

interface Articles {
  body: string;
  id: number;
  title: string;
  userId: number;
}

export default function Home({
  articles,
}: InferGetStaticPropsType<typeof getStaticProps>) {
  return (
    <div className="max-w-5xl mx-auto">
      <Navbar />
      <div className="grid grid-cols-1 md:grid-cols-2 space-x-5 space-y-5">
        {articles.map((article) => (
          <Article
            body={article.body}
            id={article.id}
            title={article.title}
            userId={article.userId}
            key={article.id}
          />
        ))}
      </div>
    </div>
  );
}

export const getStaticProps = async () => {
  const articles: Articles[] = await (
    await fetch("https://jsonplaceholder.typicode.com/posts?_limit=10")
  ).json();

  return {
    props: {
      articles,
    },
  };
};
You may notice that we are using the same interface in both the files, so what we can do is create a new file in the root directory called types.ts and add the interface there instead
// types.ts
export interface Articles {
  id: number;
  userId: number;
  body: string;
  title: string;
}
And replace the Article interface from both pages/index.tsx and components/Articles.tsx with the following import
import { Articles } from "../types";
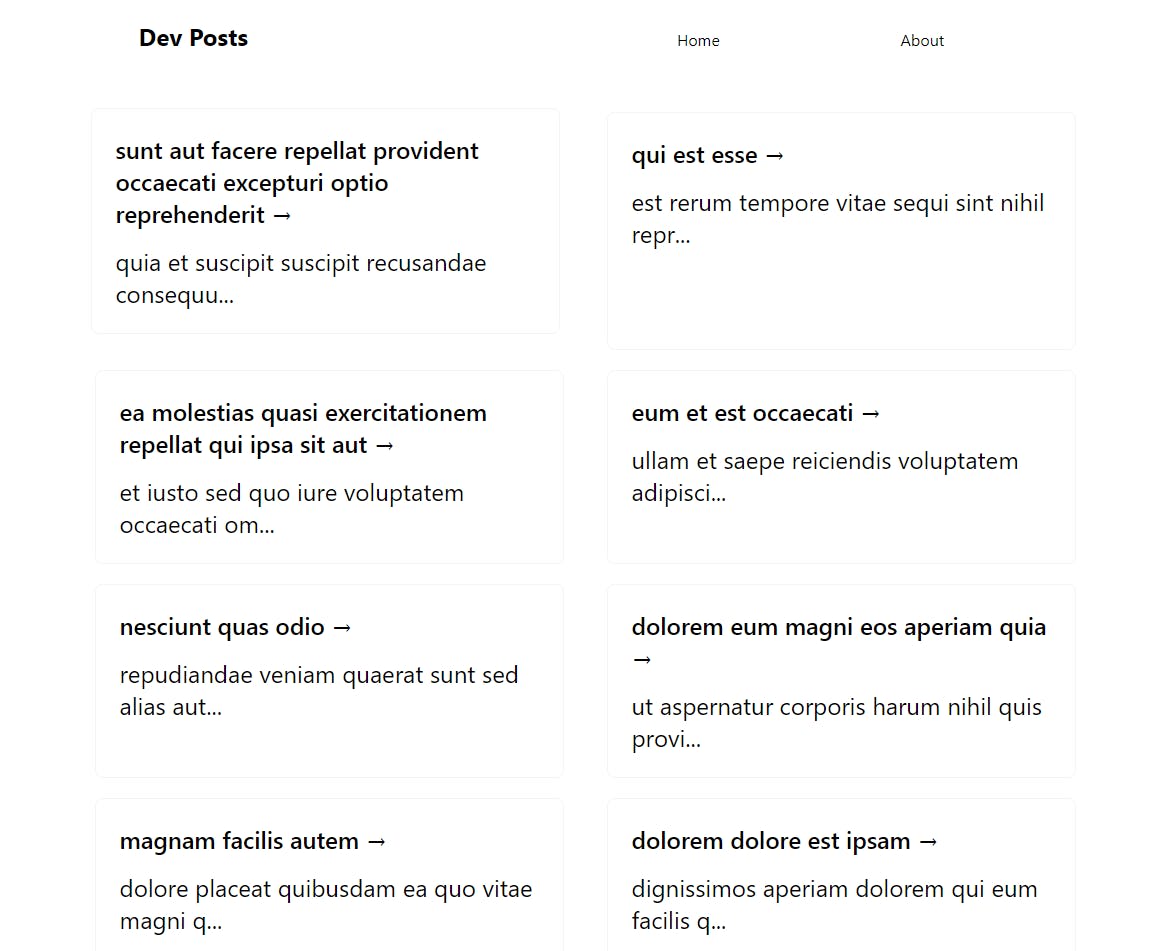
Now in the browser, your app should look something similar to this
And that's it for this article. In the next article, we would be learning how to create pages dynamically using different functions offered by NextJS. Until then stay tuned.
As always, linking the Github Repository.
Series
Support 🙌
If you're enjoying my articles, consider supporting me with a coffee ☕️ or upvoting the articles. It really motivates me to keep going.

Lets connect 🌎
Feedback 🎸
Feedback helps to improve my articles. I'd love to hear feedback and thoughts on the article. Looking forward to your views.